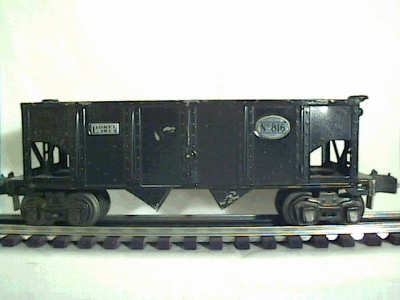
The 816 hopper car was introduced in 1927. It came in Olive green until 1930 when the color changed to red.
The 816 hopper car was introduced in 1927. It came in Olive green until 1930 when the color changed to red.
The 815 tank car was introduced in 1926 and was cataloged through 1942. Supposedly the first cars were pea green with maroon frames, but the car I had was a later car from about 1932/33. In 1927 the frame color changed to black and continued to be black for the rest of the cars run.
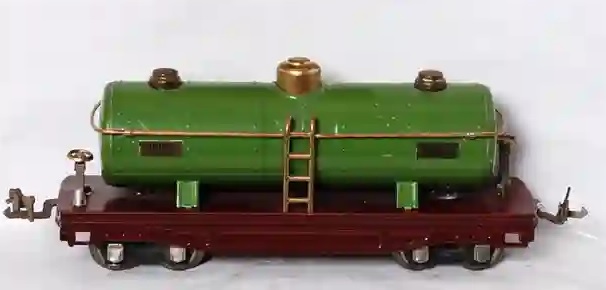
Until 1934, the car was pea green. In 1934, the color was changed to aluminum. Cars with brass trim and latch couplers can be found with or without the Sunoco decal. Cars with box couplers, made in 1936 and after, always have decals.
Lionel introduced the 800 series cars in 1926. These were the top of the line freight cars until the scale and semiscale cars were introduced in 1940. The first series of cars have brass plates and trim, and latch couplers.
In 1934 Lionel began converting the trim to nickel and changing the colors of the cars. Between 1934 and 1936 these cars came with a mixture of brass and nickel trim. These mixed trim or notch cars (because they fit in the notch years 1935 and 1935) can be a lot of fun to collect. Because most of these notch cars can be created by changing parts with other cars, collectors should examine the car for evidence of being taken apart before paying a premium for a notch car.
The 607 passenger car and the matching 608 observation were introduced in 1926 and cataloged through 1937.
The 603 and 604 were introduced in 1931 and cataloged through 1936. The 603, 604 use the same bodies, but do not have lights. Earlier cars have two air tanks on the bottom. The earliest air tanks have brass end caps- found only on peacock cars- otherwise the end caps are nickel. Cars made after about 1935 have a single fishbelly on the bottom. Uncataloged cars have no air tanks or fishbellies.
The 609, 611 cars are uncataloged cars and were made from 1935 onward.
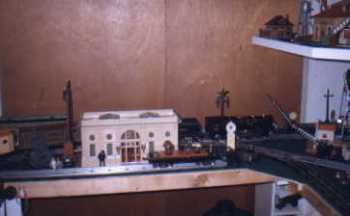
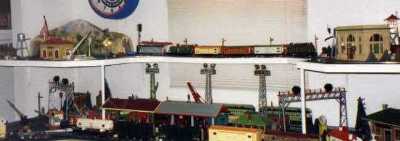
This is an interesting toy train layout. I have no idea who the owner was. Based on the trains in the pictures the trains were between 1916 and 1918. There are three pictures of the layout set up one way and one picture of the layout in another configuration.
What Makes This Layout Interesting?
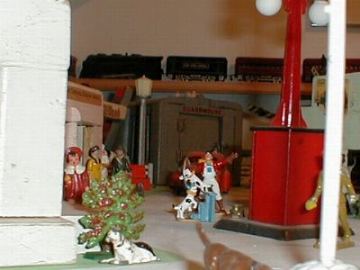
This layout shows two Lionel 820 Boxcars. Both are dark green cars with Santa Fe lettering. These cars are extremely rare – very few dark green boxcars survive today. Maybe a dozen, probably less.
Here is some young man with two of them. He also has two Lionel 700 series locos. The engine in the top photo is probably a Lionel 706 from 1916. (When enlarged the loco seems to have a reverse handle on it. Added 2020 – when I wrote this article I didn’t have the earliest version of the 154. The 154 from 1917 is much commoner than the 706, and would look the same in these poor pictures. )
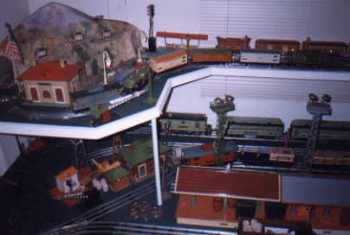
In the picture below you can see both of the dark green boxcars and a 706/154 loco. The other cars are IVES cars. Note the interesting stockyard.

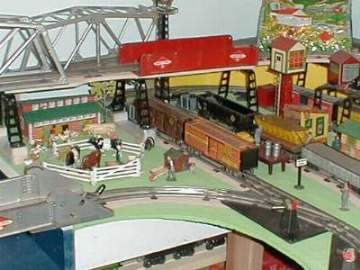
In the photo below you can see a wonderful top of the line IVES 1125 steamer pulling a bunch of lithographed cars. The tunnel in the background may be an early version of the Lionel 118 tunnel, but is probably a German import. 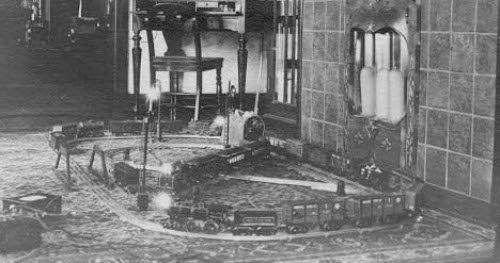
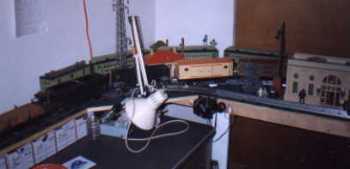
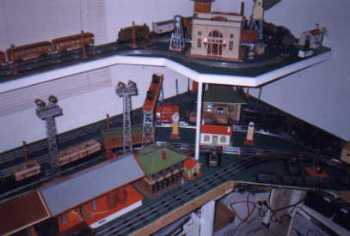
The picture below shows the Lionel 154/706 loco in the foreground and another Lionel 700 series loco in the middle. The second Lionel 700 series loco is also a 154 or 701 or 706 because the mounting screws holding the cab to the frame are verticle. This engine is pulling two 610 pullmans and a 602 baggage car. 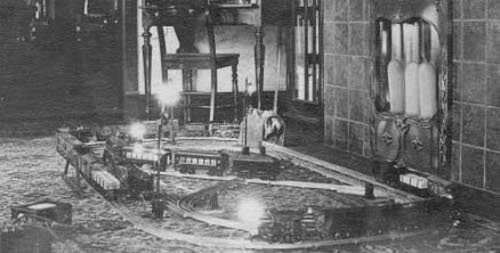
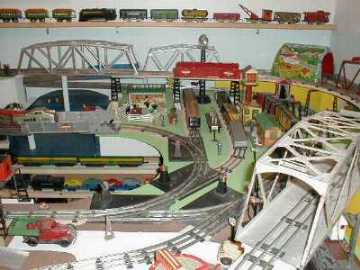
Below is a picture of the trains set up in a different layout. 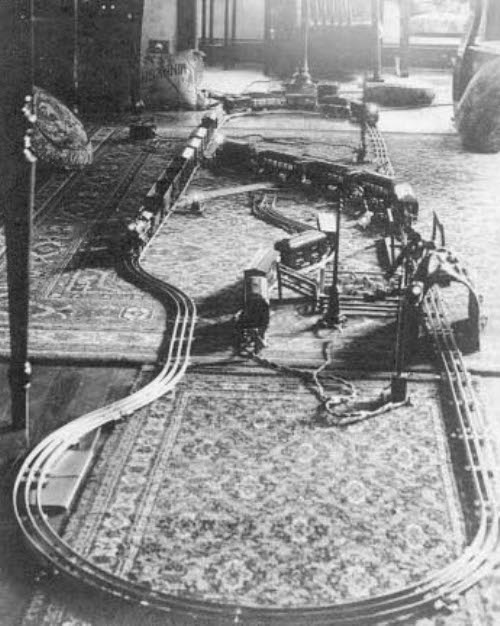
Just looking at these old pictures, you can tell the family was well off. There is about $60 dollars worth of Lionel Trains on the layout. That’s in 1916 prices. The IVES trains and the accessories would bring the total spent by the family to put together this setup to over a hundred dollars.
Back then a hundred dollars was a lot of money. The average income for an industrial worker was less than $5.00 per day. Other workers made less.
I bet the family really enjoyed their trains.
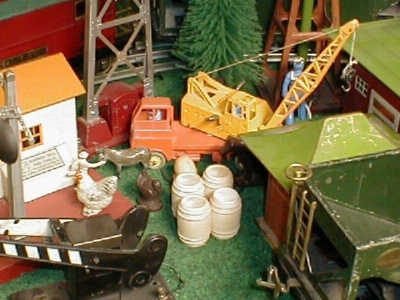
Randy Efros has been collecting Marx trains since he was a boy in the 1950’s. His layouts are built with the idea of recreating a child’s layout from the fifties. I think he has accomplished his goal. Randy is an artist, and has painted his scenery with a child like touch. Many of the wood buildings were built from scrap wood by his father when Randy was a child. You can also see most of the Marx accessories in the pictures.
Randy has two layouts. A small 4 by 6 foot layout in his family room, and a larger bedroom layout. Here’s two pictures of the small layout:

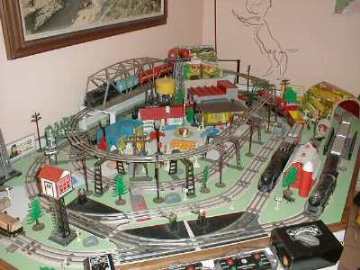
Here’s some pictures of the bedroom layout. To me this is what train layouts are all about. Plenty of items jammed into a small space just like a child would do if he had some wealthy aunts and uncles.
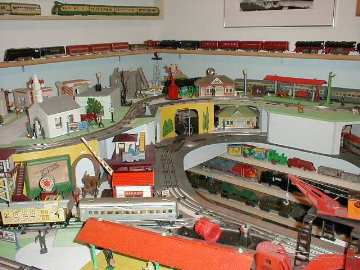
Neat stuff
Here are some pictures of the bedroom layout I built in the mid 1990s. The room size is 10′ by 11′. I wanted to be able to show off my accessories in the way they were made to be shown- on a layout.
The standard gauge layout is constructed of 2X3’s and 5/16″ plywood. There is green carpeting-more like thick felt- on top. The O gauge layout is made of 1X2’s and plywood.
The Standard gauge layout runs all the way around the room with a raising bridge at the door. It will hold four trains, and run two trains at the same time. The bridge is made from a 1X12″ and is hinged to allow easy access. The hinge pins must be higher than the top of the track. Access to the closet is by ducking under the layout.
The O gauge layout was constructed to show off the 916 tunnel. One train will run around the layout and there is a short length of track for storing another train- The 253 passenger set is sitting on it.
There are better pictures are below these darker scans.
This shows the transition to the bridge. My work desk is under the shelf. The shelf is a 1X12″ and two standard gauge trains will run across it without hitting.
This shows the duck under to the closet.
These two photos show the south side of the layout. Because of space considerations the Standard gauge layout is only 40″ wide here. There’s enough room for 3 passing sidings on the inside loop. The PVC pipes support the O gauge layout, and contain the wires for the upper layout.
As you can see, it is possible to build a big layout in a small space.
Here’s one last picture of the layout:
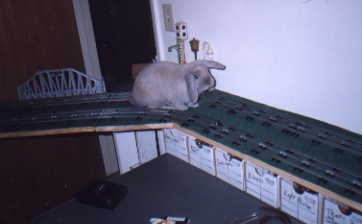
This Picture shows the hinged bridge, and the world’s stupidest rabbit.
This layout was taken down just after these pictures were originally posted. The rabbit lived for another 8 years.
The pictures above were taken with a camera and then scanned.
Here’s photos taken just before the layout was taken down with a digital camera:
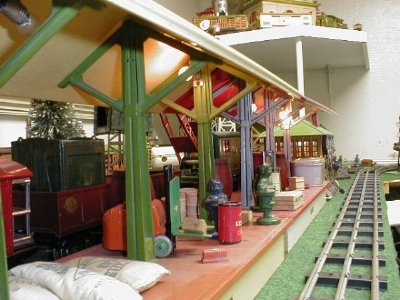
Lionel 155 Freight sheds with freight waiting for pick up.
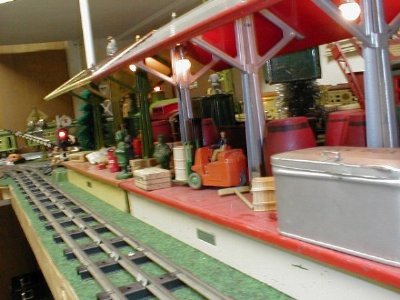
More Freight. Notice the Lionel 812T Tool set on the platform.
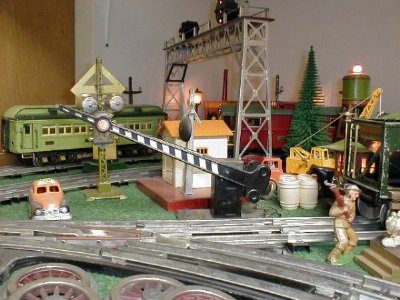
Lionel Stephen Girard Passenger train at the crossing.
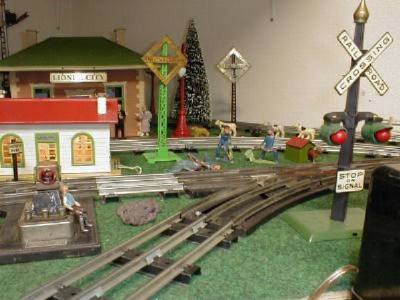
Rare Lionel 121 High Window station in background.
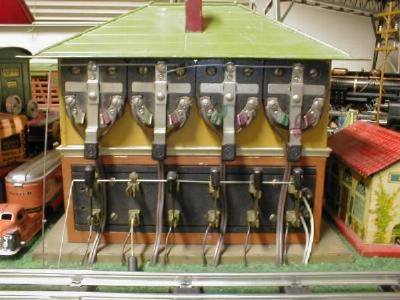
Lionel 437 Signal Tower controls the layout.
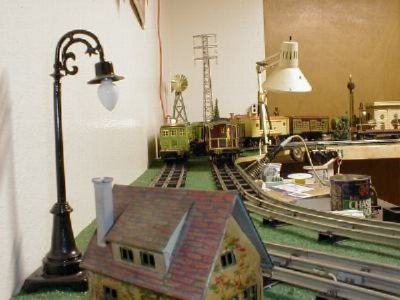
Two Lionel Standard gauge trains passing.
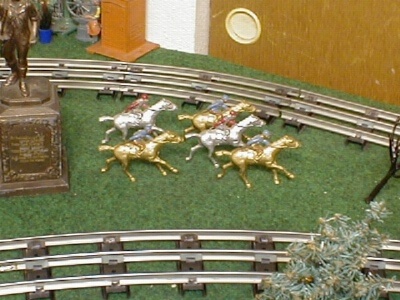
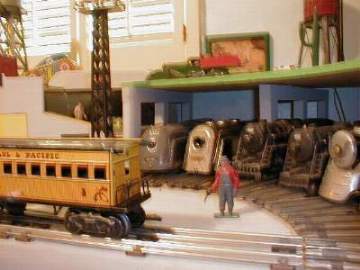
Jockeys out for the morning run
More Junk.
This is Miles Butler’s dream layout. In 1994, Miles asked me if I would like to help him build his dream layout. I went over and looked at what he had accomplished so far and became intrigued by the possibilities and the challenges of building this massive scale-like train layout. Miles had already built the bench work and laid the track. Mitch Kramer had helped him with the work completed so far but was unable to devote the time to building the layout due to job and family. I told Miles I’d help out.
For five years I went over a few times a week and worked on this layout. Sometimes we got very little work done, but ran the MTH and Lionel trains instead.
There is a big sense of accomplishment when a building or scene is completed. Actually the layout will never be completed there will always be some little details to be added or changed. This is fine with me.
At the time, I had been building toy train layouts for 25 years but had never done anything of this size before. The layout is in a 36 by 45 foot room. All the curves are 36 inch minimum radius so even the biggest Mike’s Train House engines can run.
While you are looking at the pictures remember: if I can do this; you can too! All you need is an idea of what you want to accomplish and some (lots) of tools.
Note: I am replacing the older scans with better pictures taken with my digital camera. Terry 02/15/01.
Note: Miles died in 2001, and by 2002 the layout was torn down and only lives on in these photos and our memories. I spent a lot of time helping out with this layout, and it’s got good memories for me.
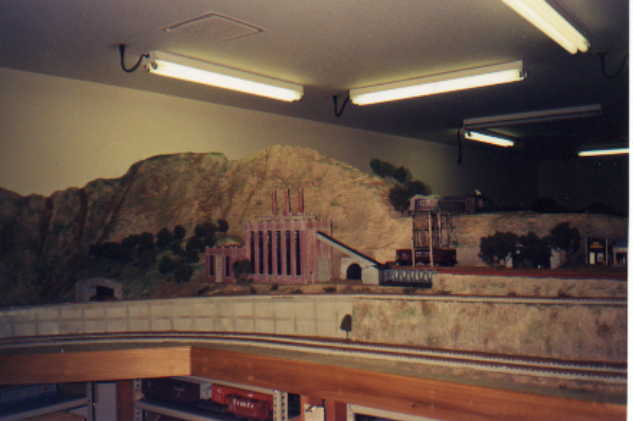
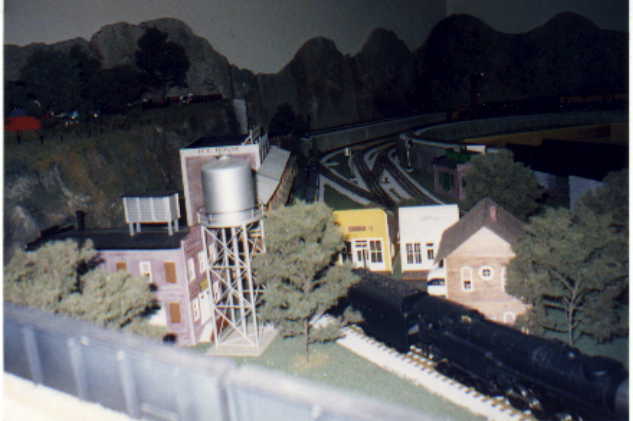
This view shows the powerhouse. The mountain in the back is over 7 feet tall. The concrete ramp is made of painted cardboard.

This view shows the mine town. The two lower tracks are the mainlines. There is a small mine train that goes in and out of the mountain in the upper left.
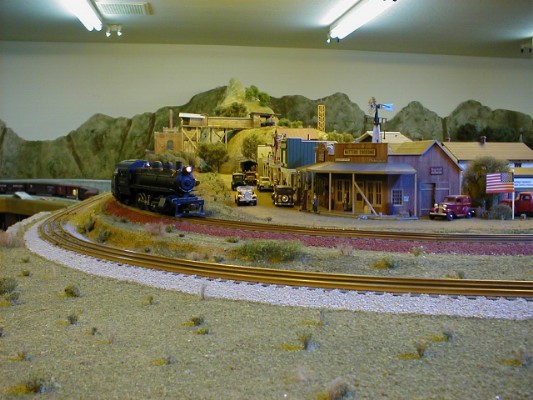
Here’s another view of the mine town. The buildings are handmade using HO plans from Model Railroading magazines and Grandt line doors and windows. The Plasticville windmill actually turns by using an air compressor under the table.
In this picture you can better see the narrow gauge mine train. The tan skirting is Bristol board and is removable to get to the track underneath.
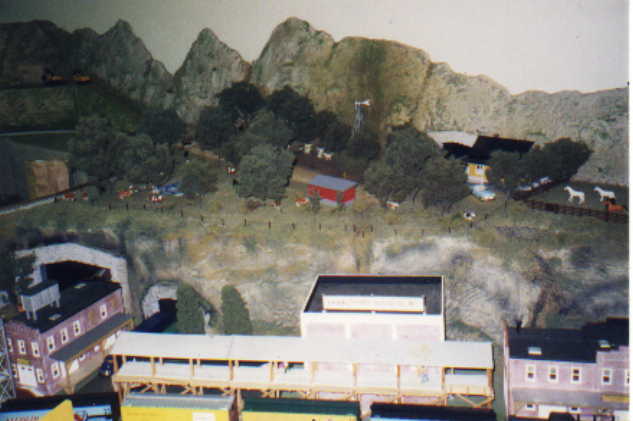
Here you can see the icehouse and part of the ranch area. The trees are all hand made using armatures cut from real plants. Each tree can take up to two hours to make. But, they are very realistic and the time is worth it. Some of the trees have small birds and animals in them; some have boys climbing them, and one even has a tree house.
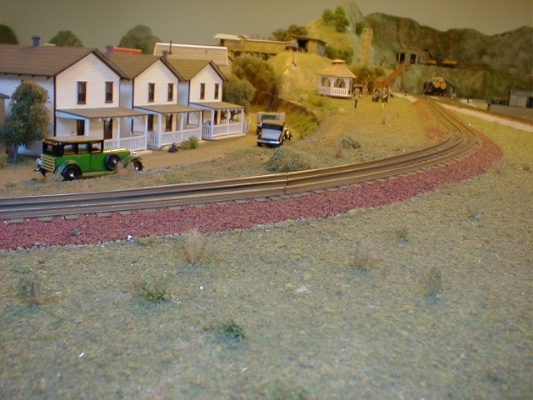
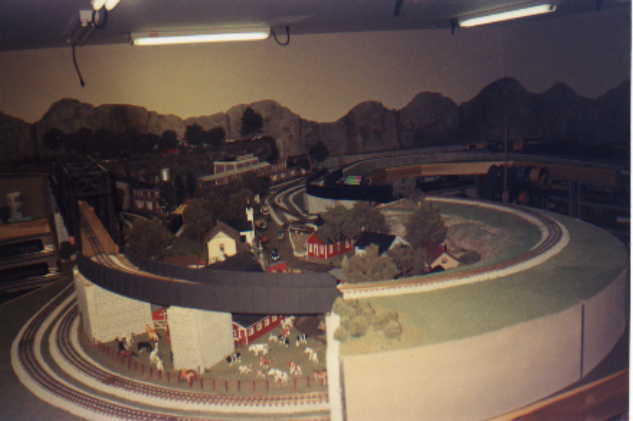
Here’s the ranch area. The pond on the left has swans that swim. This is done with magnets and chain drives under the plastic sheet. The barbed wire fence is made of thread glued to HO gauge ties.
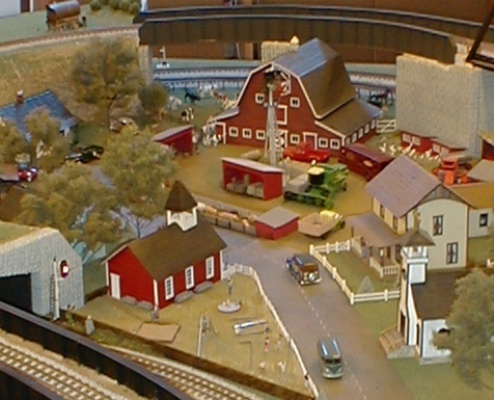
Shown in this picture is the farm area. The open areas make the scene look bigger. The many animals and figures make the scene come alive. The Plasticville Windmill actually turns using an air pump under the table.
Here’s more of the farm area. The curved girder bridges save space. They were made of Plastruct girders and sheet plastic. The supports are carved from Styrofoam to look like masonry. The bare area on the right has been detailed since this picture was taken and now has a shepherd with his dogs and sheep. And lots of small bushes surrounded by tall grass.
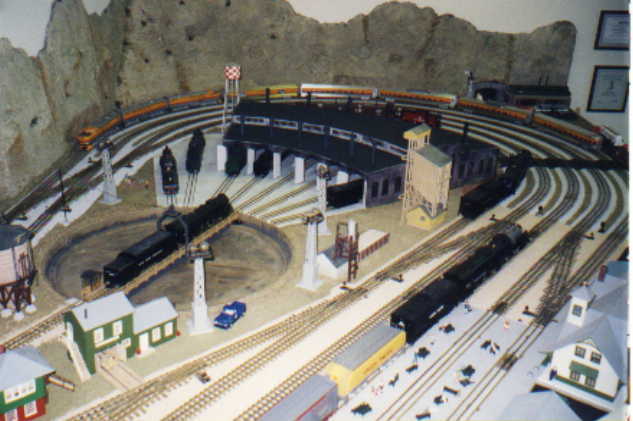
This is the steam service area. The turntable is motorized and can handle engines up to 32 inches long. I’ve recently completed a glass (actually Plexiglas) passenger dome on the gray station platform area in bottom of the picture
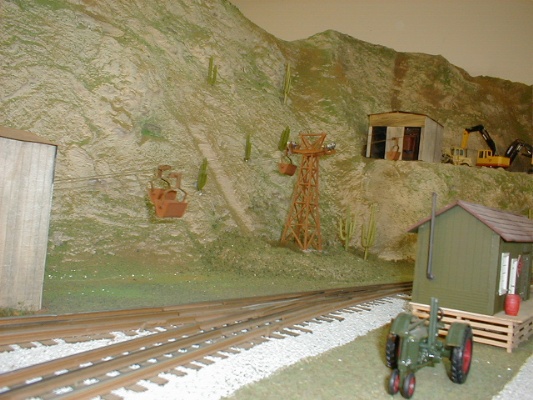
This is the back side of the tall central mountain. The ore buckets actually run. It is a 1950’s era toy made in Europe. These toys were made by in Europe and imported by Howard and Aristocraft. You can find these types of toys on Ebay or at train shows.
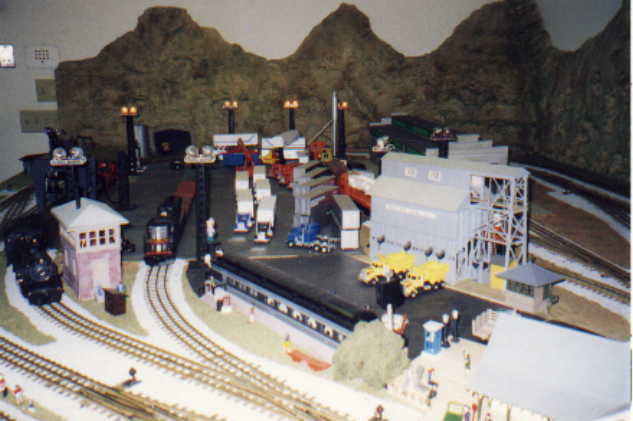
This is the diesel service area. The diner is a K-line car with brick trim added to give it a permanent look.
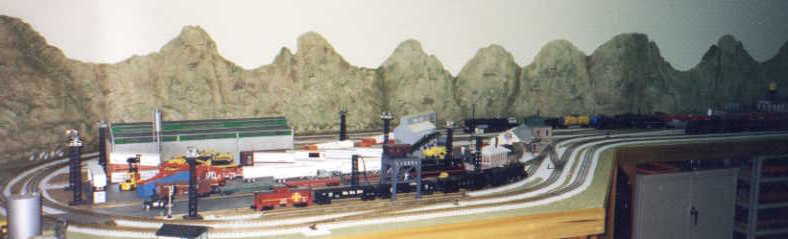
Another view of the diesel service area. The entire perimeter of the layout has scenic mountain panels carved from Styrofoam to provide a back drop. All that is missing are some clouds, but by the time I had talked Miles into painting them, there was too much stuff on the layout to allow access.
Thanks for taking the time to look at these photos.
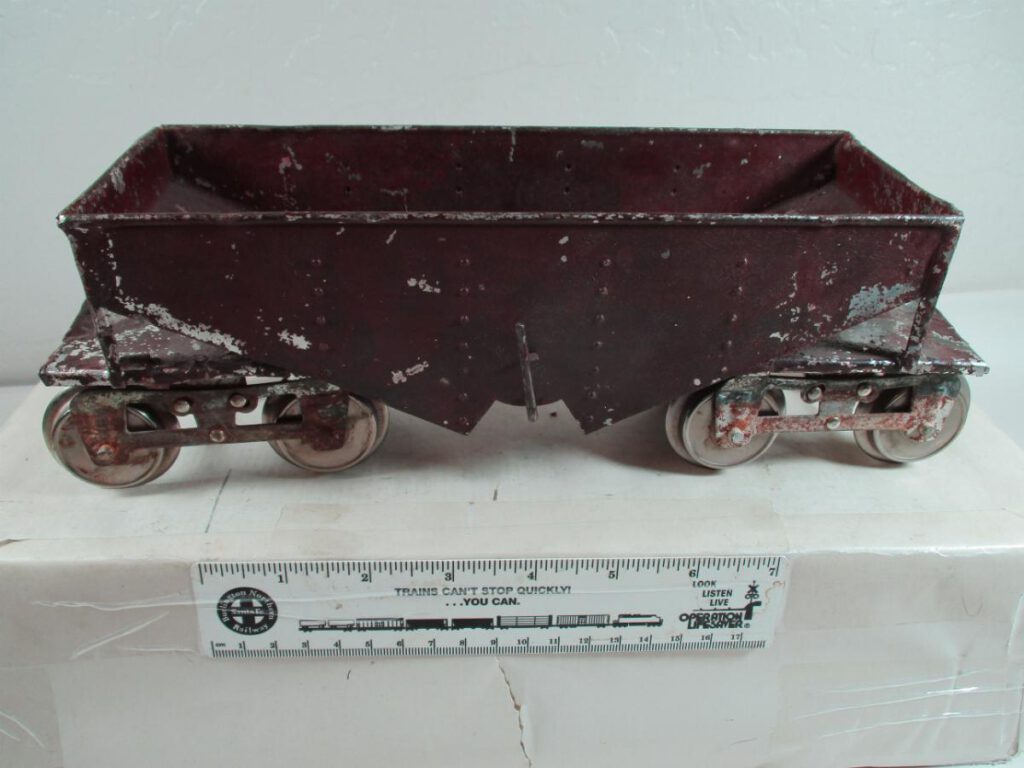
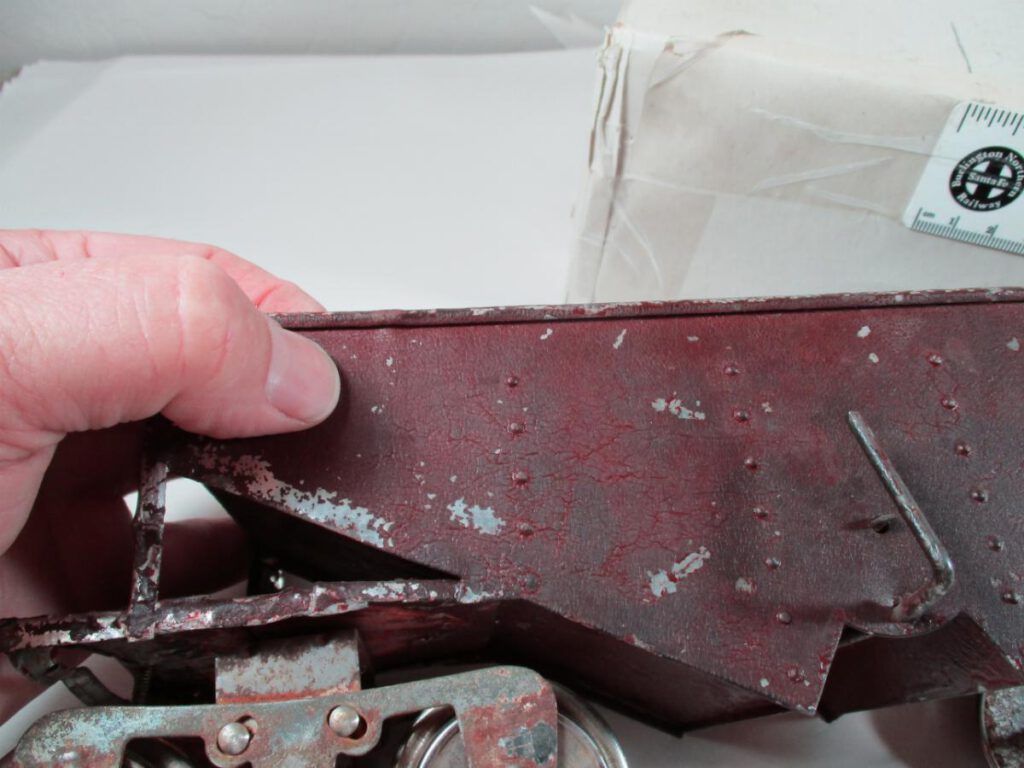
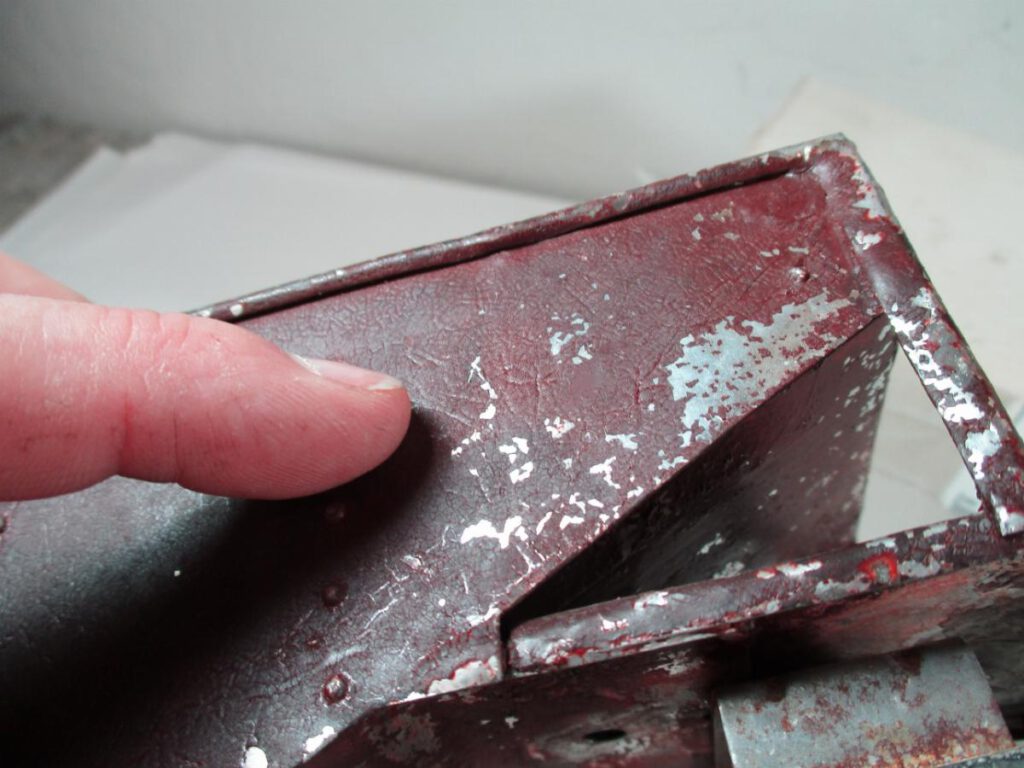
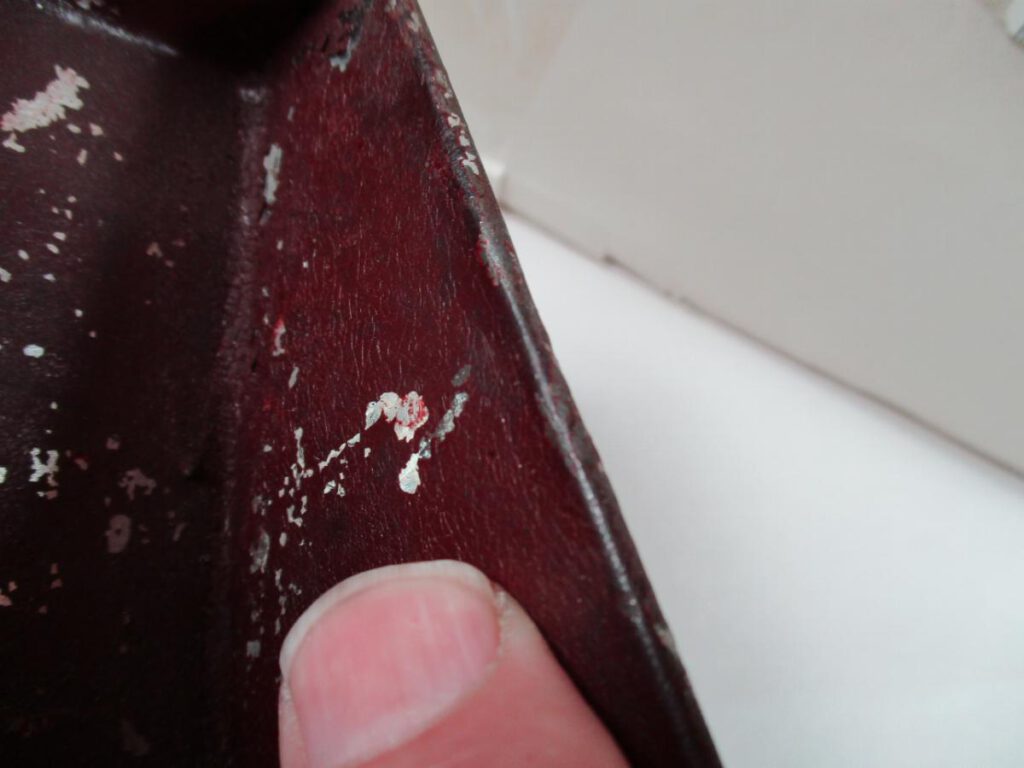
I moved pictures of the odd 116 hopper here because you cannot see the pictures if you aren’t logged in to the forum.
Here’s a link to the discussion in the forum

Here’s the TCA Western division page. Picture of second Cohen car is near bottom on right hand side.